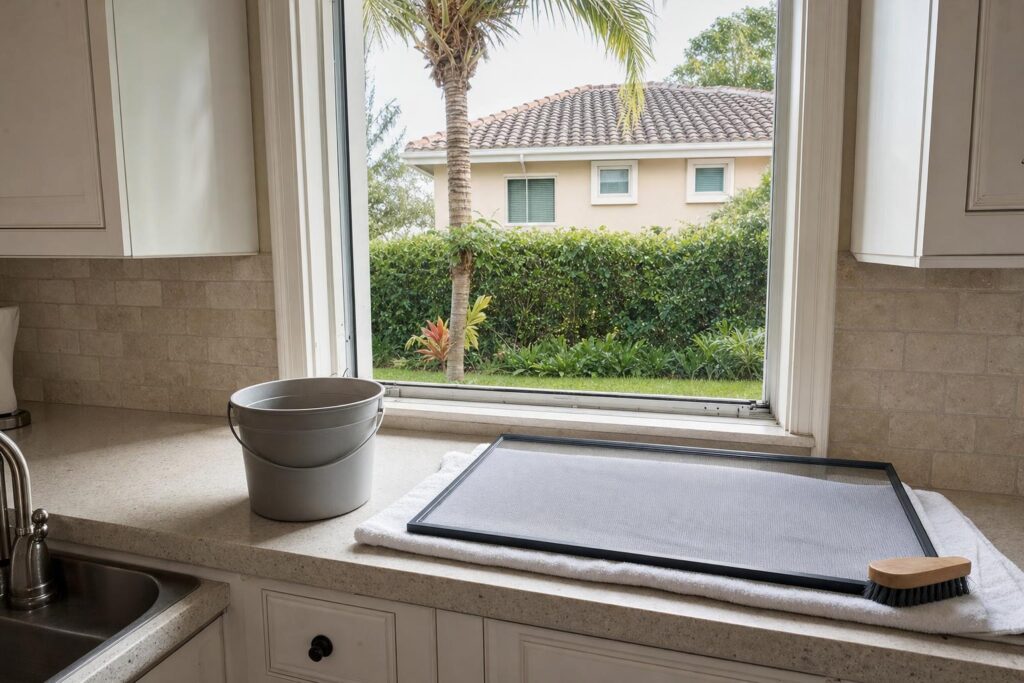

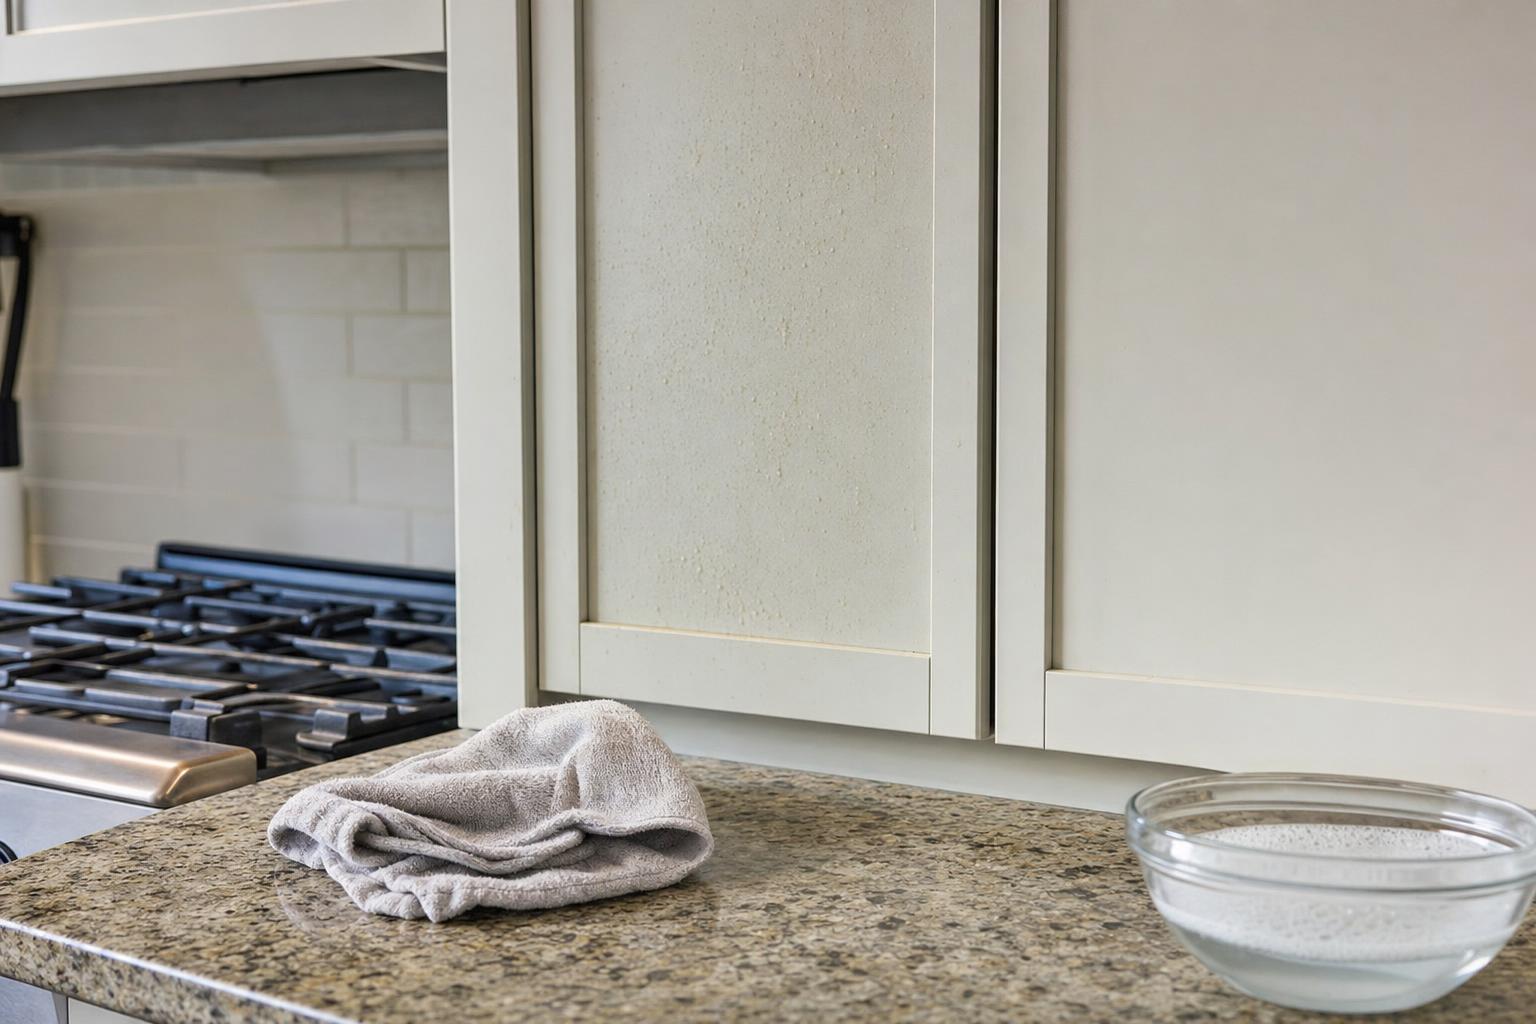
Cooking can leave a thin film on cabinet doors even when the rest of the kitchen looks orderly. Cleaning grease from kitchen cabinet doors starts with identifying the finish and removing loose dust before using moisture. Painted wood, laminate, and natural wood may need different care, so the cabinet maker’s directions take priority over any general tip. This method uses a cautious test, mild cleaning, and thorough drying rather than an aggressive solvent. It is intended for ordinary surface soil; peeling finish, swelling, or damage around a sink needs a different response from routine cleaning.
Check the Cabinet Finish Before Choosing a Cleaner
Look for the cabinet’s maintenance guide if it is available. Note whether the door is painted, stained, sealed wood, laminate, or another material. Even cabinets that look alike may have different coatings, and repeated moisture or abrasive cleaning can change the sheen. Before treating the full kitchen, choose a hidden spot such as an inside edge. Apply the smallest amount of the proposed cleaner to a soft cloth, wipe gently, and dry the area. Wait to see whether the finish changes, becomes tacky, or loses color.
Do not start with a degreaser, scouring pad, bleach, or undiluted dish soap simply because the residue feels stubborn. A stronger product may remove the finish along with the soil. If using a commercial cleaner, read its label and make sure it is intended for that surface. Keep products in their original containers and never combine cleaning agents. EPA’s Safer Choice program information describes products reviewed for ingredient criteria; the label still determines how a specific product should be used.
Remove Dry Dust Before Wiping Away Grease
Start at the top of the cabinet run and work down. Grease can hold dust, and wiping a gritty film back and forth may leave scratches or dull spots. Use a clean, dry microfiber cloth to lift loose particles from the face, edges, and pulls. Fold the cloth into quarters and turn to a fresh side as it collects soil. If the cloth catches on rough grain, raised trim, or damaged finish, do not keep dragging it across the door. Use a soft brush to lift debris from a groove instead.
Clean one door at a time and keep track of which surfaces have been dusted. This prevents dry dust from settling onto a freshly wiped area while you move around the kitchen. If a handle can be removed easily and the cabinet guide allows it, you may clean around it more carefully. Otherwise, wipe the visible parts of the pull with a suitable cloth and dry the surrounding wood or laminate. Avoid spraying a cleaner directly onto cabinet faces, where it can pool at seams or run behind a hinge.
Use a Mild, Well-Wrung Cloth
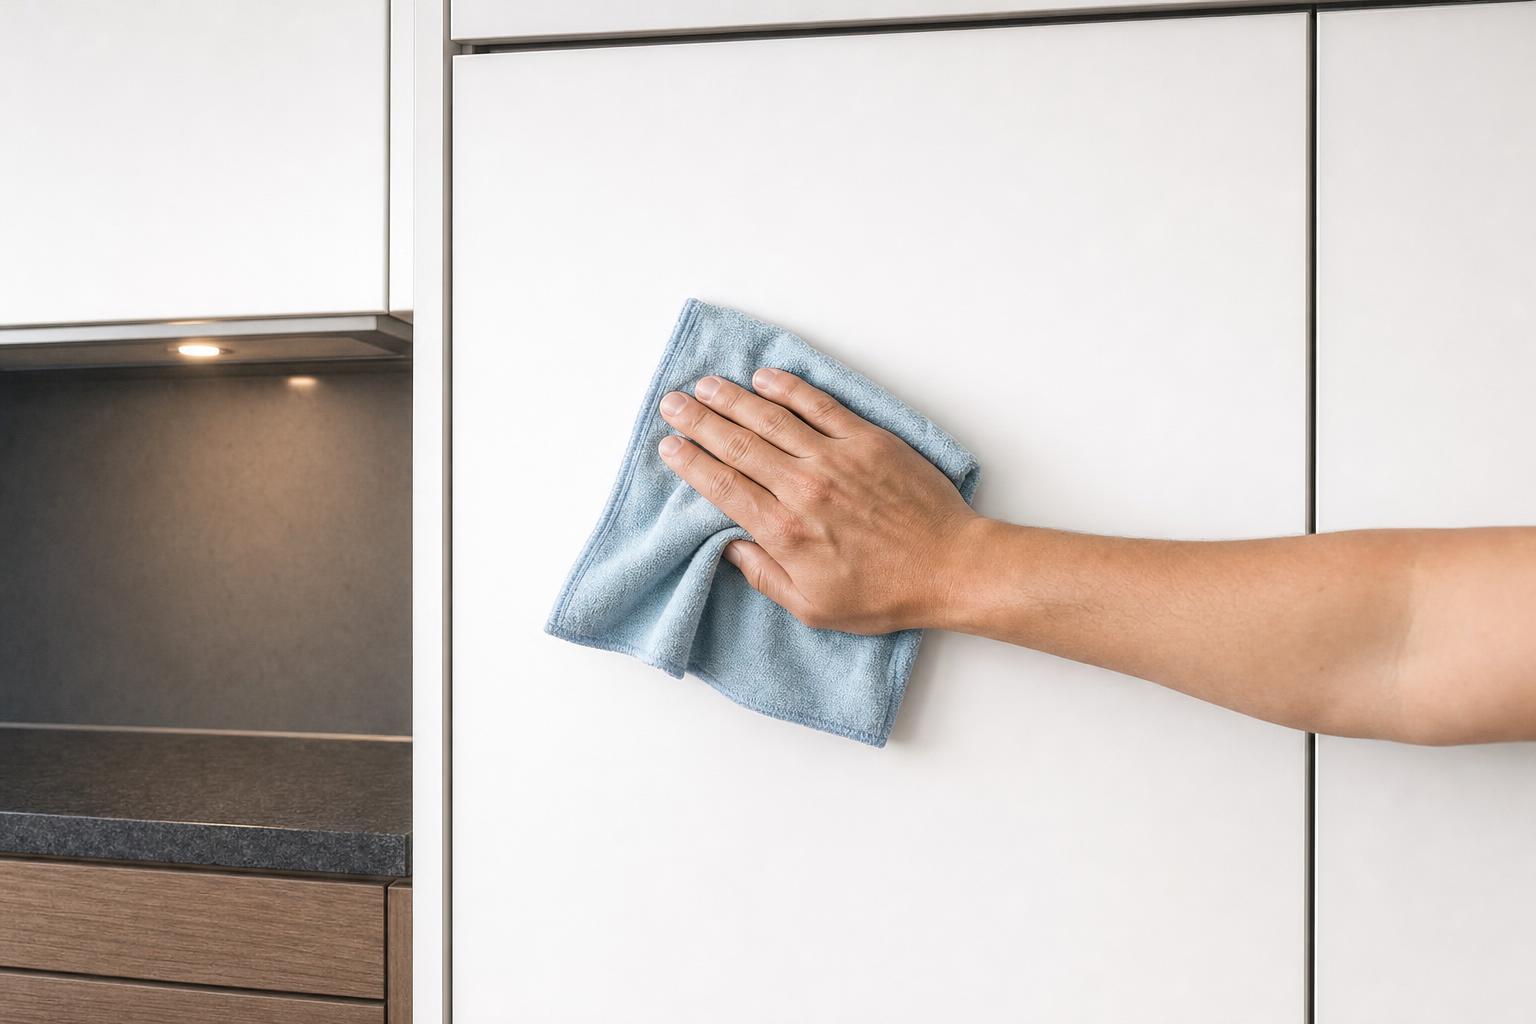
If the hidden test spot looks unchanged, dampen a soft cloth with water or the manufacturer-approved solution. Wring it out so it is damp rather than dripping. Wipe a small section in the direction of the finish or grain, using light pressure. Rinse or change the cloth when it picks up a visible film; a dirty cloth can spread grease across the next door. Work from the upper cabinets down, then address lower cabinets where hand marks and cooking residue may gather.
Do not soak the door or allow moisture to remain around edges, seams, joints, or hardware. As soon as you have wiped a section, use a dry, soft cloth to remove lingering moisture. A second gentle pass is preferable to pressing harder on the first. If residue remains after the area dries, check the product instructions and cabinet guidance before repeating the process. A sticky patch can come from old cleaner, damaged finish, or a material that does not respond to routine wiping; not every mark is grease.
Pay Attention to Pulls, Edges, and Nearby Surfaces
Cabinet pulls are frequent touchpoints, but the material may be different from the door. A metal pull, painted knob, or wood handle can each have its own care requirements. Wipe around the hardware rather than letting solution run into a screw opening. Door edges near a stove may accumulate a different kind of soil than upper cabinet faces, so inspect them in good light. Treat the visible surface only and avoid pulling at finish that is loose or already lifting.
The area directly beside a cooktop may need more frequent attention than cabinets farther away. Use the range hood according to its manual, and clean the surrounding wall surface using its own material-appropriate instructions. Do not assume the cabinet cleaner is safe on a backsplash, countertop, or appliance. A useful order is cabinets first, then nearby surfaces, then the counter and floor. This keeps drips or loosened soil from landing on areas you already finished and makes a small kitchen reset easier to repeat.

Keep the Task Small and Watch for Damage
For everyday upkeep, wipe fresh splashes when they occur using a cloth suitable for the finish. A short weekly inspection around pulls, the stove, and frequently used doors can keep residue from building into a larger task. Work in a few doors at a time so that you can notice how the finish responds before moving across the whole kitchen. Clean cloths also matter: a cloth used on the floor or a greasy appliance should not be carried over to the cabinet faces. If the cabinet guide recommends a particular cleaner or finish-care product, follow its directions and avoid unapproved polish. Household routines should be based on the actual use of the kitchen, not a one-size-fits-all cleaning interval.
Stop if the coating becomes tacky, color transfers to the cloth, veneer lifts, a door swells, or a stain appears beneath the finish. More scrubbing can make those conditions worse. Photograph the area and ask the cabinet maker or a qualified refinisher what to do next. For routine whole-home housekeeping, separate ordinary dust and surface cleaning from restoration or repair work. 3D Cleaning offers residential cleaning in Cape Coral and Fort Myers; if you would like to discuss an estimate, use the contact form and identify any surfaces that need special handling.
Frequently Asked Questions About Cleaning Grease from Kitchen Cabinets
Can I use vinegar on kitchen cabinet doors?
Do not assume a household mixture is safe for every cabinet finish. Check the cabinet maker’s care directions and test any permitted cleaner in a hidden spot before treating a visible area.
What if a cabinet door still feels sticky after wiping?
Let it dry, then review the cleaning product and cabinet instructions. Sticky residue may not be grease, and increasing pressure can damage a coating. Seek finish-specific advice if the condition persists.
Should I spray cleaner directly onto a cabinet?
Usually it is safer to apply an approved solution sparingly to a soft cloth, not the door. That helps prevent liquid from collecting along seams, edges, or hinges.
How do I clean cabinet grooves and trim?
Lift dry dust with a soft brush, then use a lightly damp cloth only if the finish allows it. Dry the area right away and avoid sharp tools that can scratch the coating.
For regular home cleaning in Cape Coral or Fort Myers, contact 3D Cleaning through its estimate form and describe the rooms you want included.